Travel photography tips to make your pictures look pro

From choosing the right kit to framing a shot
Travel photography has never been more popular. Acquiring kit that’s suited to your requirements and interests is just the first step in creating outstanding photographs. Even if you’re a total beginner you can fast track your way to shooting quality travel images.
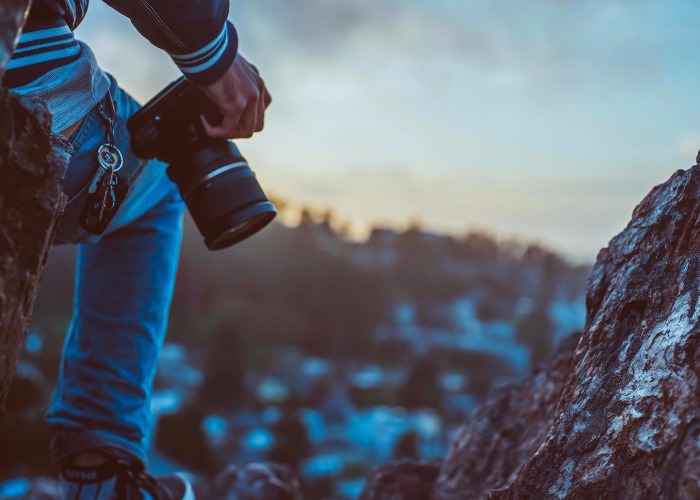
1. Choose the right camera for your needs
Let’s face it, few of us want to lug around a weighty rucksack containing only photography gear. If you don’t want to carry a Digital-Single Lens Reflex (D-SLR) camera and interchangeable lenses, the kit typically used by professional photographers, you have alternatives.
Mirrorless cameras allow you to produce quality images and are significantly smaller and lighter. Compact cameras are smaller still, relatively inexpensive, and ideal if you want an alternative to your phone. Bridge cameras, essentially a cross between DSLRs and compacts, limit the amount of kit you need to carry but giving you hardware capable of capturing good photos.
Choose the right camera using our guide here >
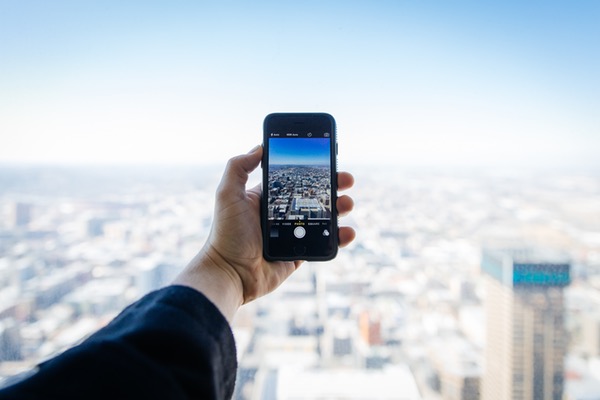
2. Don’t be afraid of using a smartphone
Not so long ago, most professional photographers would have derided anyone using merely a phone to take travel pictures. But the latest generation of smartphones have good inbuilt cameras and instant access to image editing apps. Being constantly ready to record the unexpected means you’ll be able to capture telling insights into places you visit.
3. Get to know your equipment before hitting the road
Good professional photographers can operate their kit under pressure. Get to know your camera, so you understand how to get the most out of it. You don’t want to be fiddling with settings when that once in a lifetime encounter with a lion occurs.
Read the manual. That tip might sound boring but knowing how to use your camera is essential if you want to be ready to capture scenes as they unfold.
4. Experiment with your camera’s image capture modes
Are you one of the many snappers who only use the automatic mode? You don’t even need to go to full manual mode to take stunning photos. Experimenting with pre-set image capture modes can yield impressive results.
The portrait mode helps ensure the face of your subject is in focus while the background is thrown out of focus. The landscape mode sets a broad depth of field. It’s for capturing detail in scenes of countryside, mountains or beautiful beaches.
The macro mode allows you to capture close-up details of flowers and items such as coins.
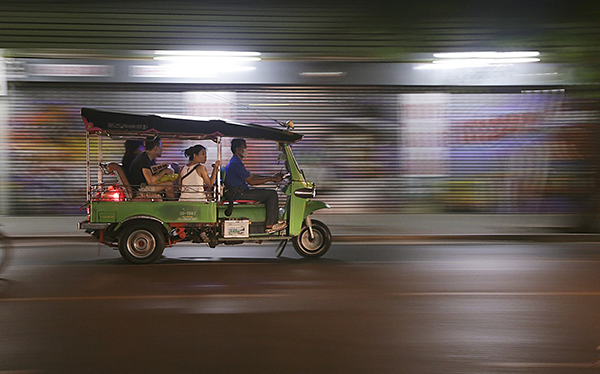
The sport mode sets a fast shutter speed. It helps freeze fast movement, minimising blurring. It can be useful for photographing birds and animals too.
5. Be selective about the photos you keep and show
Let’s face it, not every photo is going to be a masterpiece. If your subject is out of focus or blurred why keep the image? Don’t be afraid to delete dud shots. And don’t even think about posting them to Facebook or Instagram.
For every memorable spread published in National Geographic hundreds of images are rejected. So don’t upload all of your photos to online galleries — choose only the best.
6. Try placing your subject off the centre of the frame
Many established photographers compose images considering the rule of thirds, meaning their subject is offset from the centre of the image.
Follow their lead. Try placing subjects – such as people, buildings or animals – about a third of the way across the frame. Compare the result with similar photos, where the subject is depicted bang in the centre, and keep those you like.
 Pixabay/CC0
7. Be your own biggest critic when looking through the viewfinder
If you’re looking through the viewfinder and aren’t entirely happy with what you’re seeing don’t be afraid to change position.
If your subject is too small maybe you could get closer? Are you too close to a building façade? Why not improve things by moving your feet rather than your zoom.
Of course you can crop distractions such as car bonnets, trees or people from the edge of the frame in post-processing. But do what you can to get the shot close to perfect in the first place.
8. Try holding your camera vertically for some shots
It’s pretty obvious but some subjects, such as tall buildings and trees, look much better when they are shown vertically rather than horizontally. Don’t be afraid of capturing images each way round to compare the results.
A full length (vertical) shot of a person at a location can have a markedly different impact to one showing just their head and shoulders.

9. Vary perspective to add dynamism to photos
Instead of photographing only while standing up, try varying your perspective. Have a go at shooing from the hip. Why not put the camera on the ground for a couple of photos from a “worm’s eye view of the world”?
Looking down from a bridge, tower or an upper storey window may also give your travel photos a dynamic edge.
10. Optimise your use of daylight
Professionals tend to make use of soft sunlight, shortly after sunrise and during the so-called “golden hour” before sundown. Why not follow their lead to photograph then? Admittedly, getting up early can be a chore — particularly during holidays — but the warm, attractive light at those times of day makes for gorgeous travel images.
 Pexels/CC0
If you’re out and about and see a fantastic looking building that’s in shadow, maybe you can return when it’s bathed in sunlight? FindMyShadow and LightTrac are two apps that can prove helpful.
11. Use technology to enhance your photos
Professional photographers do everything possible to capture quality images that can subsequently be enhanced in post-processing software such as Photoshop or Lightroom. Photoshop Elements and GIMP —which is a free, open-source solution — are two popular alternatives.
Snapseed, developed by Google, is excellent, free-to-download image processing software which can be used on smartphones before sharing pictures. Applying filters in Instagram can also enhance the look of photos.
Comments
Be the first to comment
Do you want to comment on this article? You need to be signed in for this feature